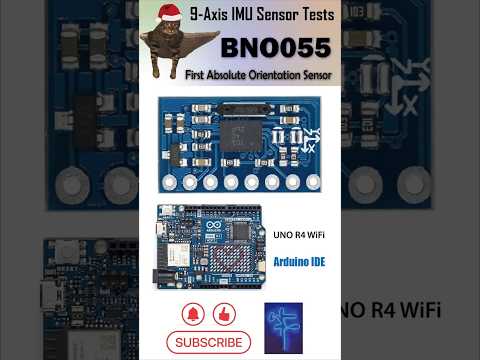
The complete open-source code for testing BNO055 9-Axis absolute orientation IMU Sensor. This Arduino demo is specially made for YouTube channel 牛志伟机器人实验室 @NiusRobotLab
-
✅ PyTeapotPlus - Improved pythonic visualization and data receiver for IMU sensors based on PyTeapot
-
✅ BNO055 support - Arduino coding for BNO055 calibration and Wireless/Serial communication with PyTeapotPlus
-
✅ EEPROM support - Calibration data saved to AT24C256, other AT24CXX chips can be easily implemented
-
✅ ESP32 MCU support - Generic ESP32, ESP32-S3, ESP32-C3/C6 etc. with WiFi support
- OS
- Windows 10
- Anaconda
- Python Libraries
- pygame
- pyopengl
- pyopengl-accelerate
- PyWavefront
- pyglet
- Install Python dependencies in Anaconda environment
> cd PyTeapotPlus
> pip install -r requirements.txt
- Modify
config.haccording to your needs.
- Download
bno055_udp_miniC3to MCU.
- Modify
pyteapotplus.pysettings to match the configurations inconfig.h.
Or
Modify pyteapot_3dm.py settings to match the configurations in config.h.
- Ensure the MCU and the sensor working properly, then execute the python scripts, reset MCU. You should see the printing of readings and relevant information from a serial monitor. Calibrate the sensor until the readings are stable without errors.
What does 'PyTeapotPlus/3DViewer.py' made for?
You can view 3D models, zoom in/out, rotate using mouse by setting correct directory to your model.
I cannot see anything using '3DViewer.py' or 'pyteapot_3dm.py'.
Yes, that happens frequently due to various numerical ranges of 3D models. If you would like to change the parameters of OpenGL, such as the viewpoint, scales and depth, please try out.
How can I modify the code to implement other AT24CXX chips
In tools.h, substitute #include <at24c256.h> by #include <at24cxx.h>, xx is the chip you want to use.
Have you tested the source code before pushing it here?
I only tested some of the settings, cannot guarantee 'bugs-free' though. If you find any issues, feel free to let me know.
Can my Arduino/STM32/Raspberry Pi boards run this demo?
This demo is designed for ESP32 boards. UDP mode will not work for dev boards without WiFi features. As some Arduino boards have onboard EEPROM (e.g., Arduino UNO R3/R4 WiFi), simply replace the 'AT24C' lib by built-in 'EEPROM.h', then modify several lines of EEPROM codes should work. The code may work with some STM32 boards. The code is not compatible with Raspberry Pi.
👇 Please refer to the video @NiusRobotLab